Get Your First Donation: Checklist
Accept your invite, set up your calendar, and share it with your circle.
Get Your First Donation: Community Fundraiser Checklist
Accept your invitation, set up your personal calendar, and share it to receive your first gift.
Overview
As a community fundraiser, you carry a personal pick a date calendar into your own circle. Your friends, family, coworkers, and neighbors claim days on your calendar to support your organization's shared goal.
This checklist walks you through:
- Accepting your invitation
- Setting up your profile (quick and optional details)
- Finding your sharing tools
- Getting your first donation
- Thanking donors and keeping momentum
Step 1: Accept your invitation
- Find the invitation email from your organization. Check spam/promotions if you don't see it.
- Click the join link in the email.
- You'll see your organization's name and a Continue button.
- Click Continue to proceed to setup.
Important: The join link stays valid for 30 days. If it expired, see Troubleshooting below.
Step 2: Complete your setup
After clicking Continue, you'll see a short setup screen:
- Confirm your name — Make sure it's correct (this shows on your calendar).
- Add a profile photo (optional but recommended) — Supporters connect better with a friendly face.
- Write a short intro (optional) — One or two sentences about why this cause matters to you.
- Click Finish or Continue to complete setup.
Tip: You can update your photo and intro later from your Profile page. Don't let this step slow you down — the defaults work fine to start.
Step 3: Find your sharing tools
After setup, you land on your fundraiser Dashboard. Everything you need to share is on your Share page:
- Click Share in the navigation.
- You'll find:
- Your personal calendar link — Copy and send this to anyone
- QR code — Show on your phone or print for events
- Message templates — Ready-to-send text for different situations
- Social Kit — Branded graphics for Instagram, Facebook, and more
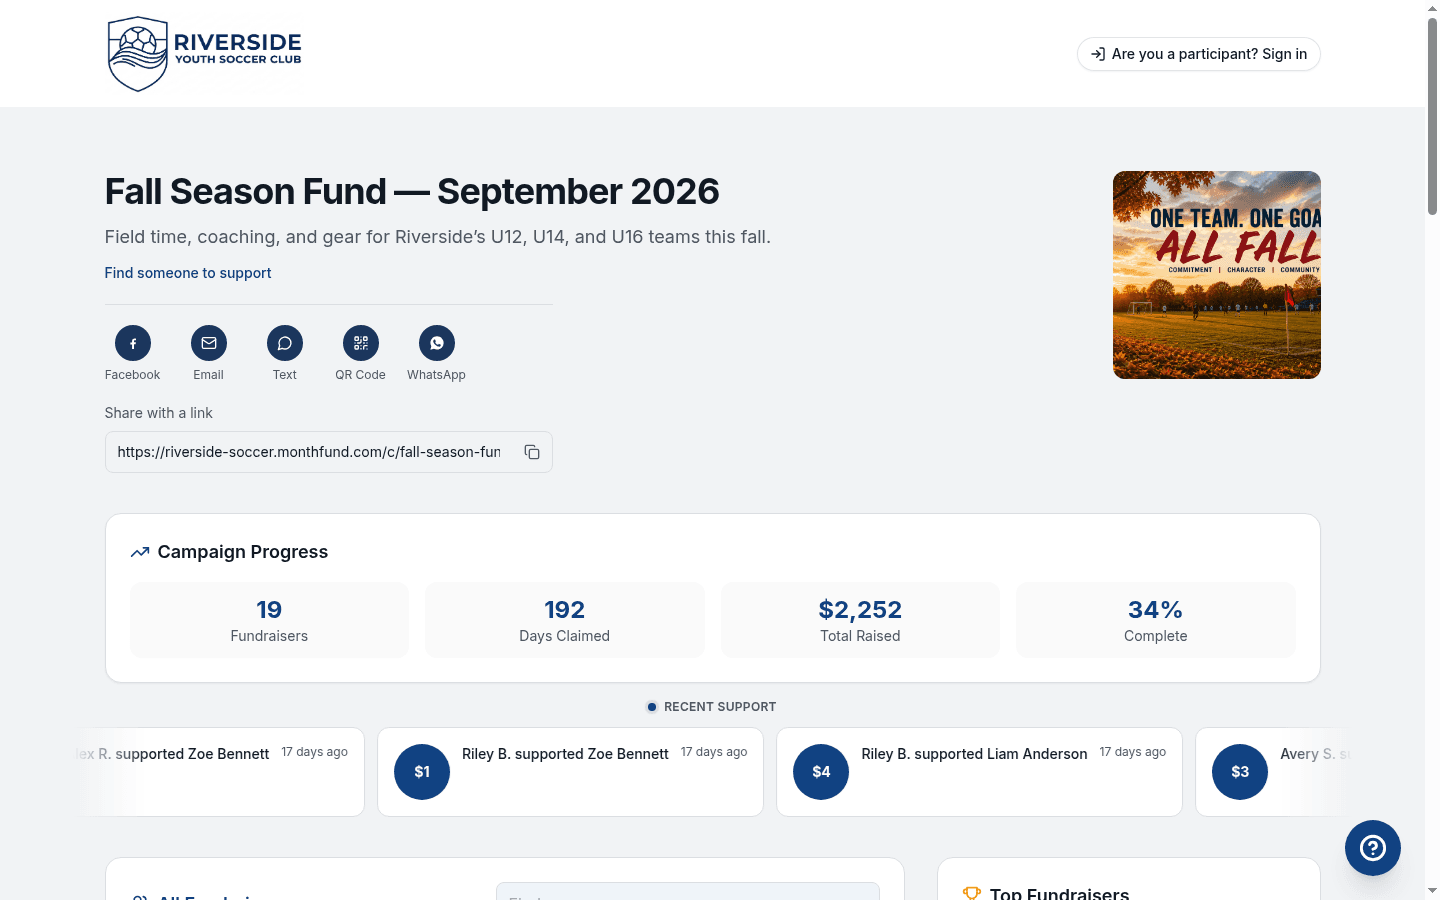
Your sharing toolkit at a glance
| Tool | What it's for | Where to find it |
|---|---|---|
| Calendar link | Send in texts, emails, DMs | Share page → Copy link |
| QR code | In-person events, printed flyers | Share page → QR Code tab |
| Message templates | Ready-to-send asks | Share page → Templates tab |
| Social Kit | Instagram Stories, Feed posts | Share page → Social Kit tab |
Step 4: Share with your inner circle first
Start with 5–10 people who already know and support you. Personal messages convert better than public posts.
Send a direct message
Use the message templates on your Share page, or write your own:
"Hey! I'm raising funds for [organization] this month. Would you claim a day on my calendar? Even $5 or $10 makes a difference. [your link]"
Best channels for direct asks:
- Text message
- WhatsApp or Messenger
- Instagram or Facebook DM
- Personal email
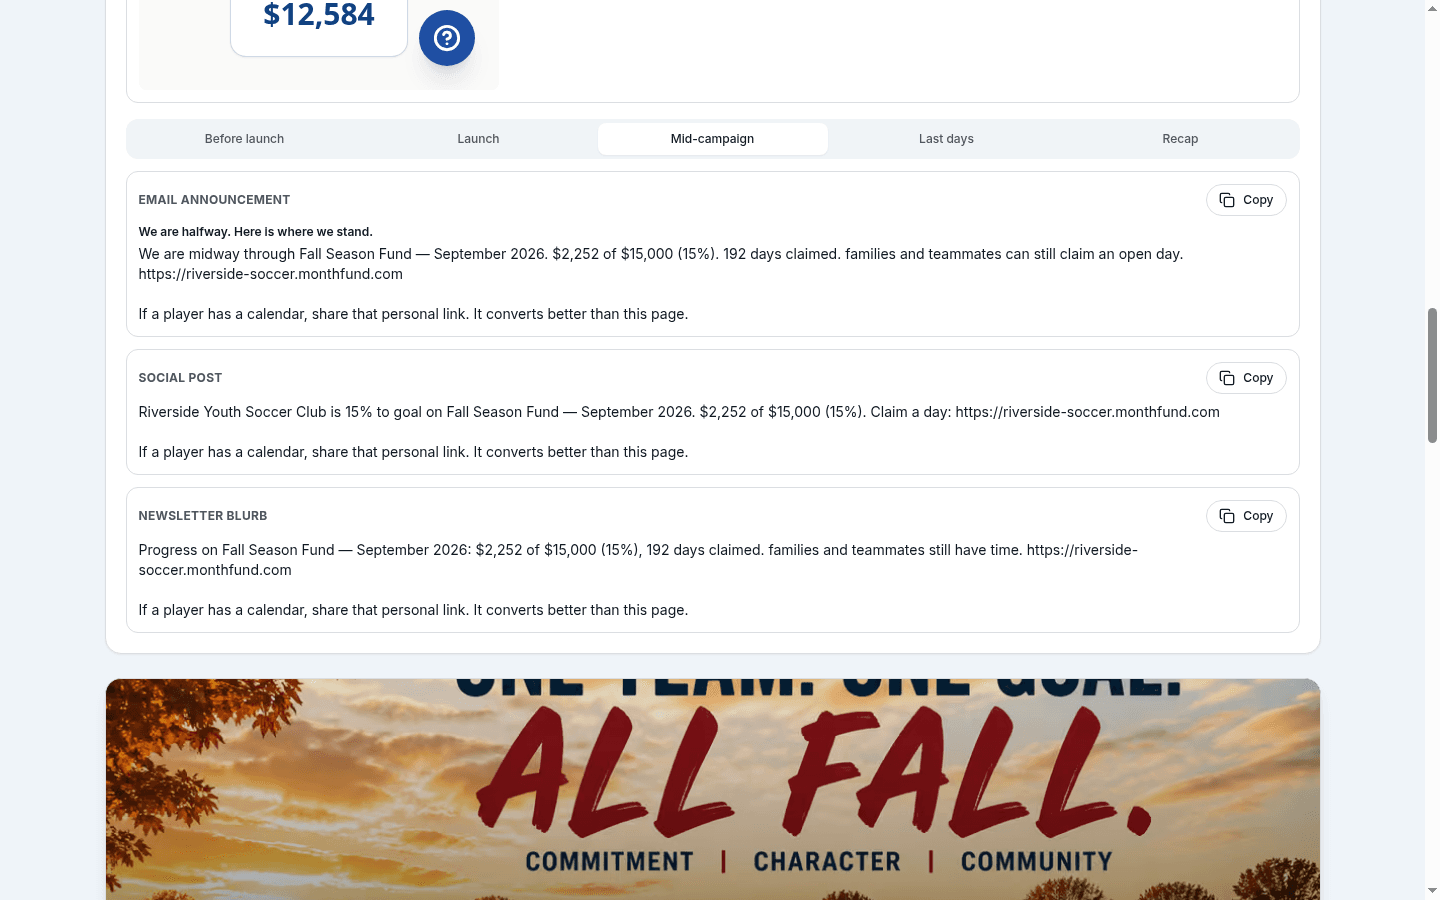
Tip: Days 1–10 are affordable
Remind people that the early days are only $1–$10. Not everyone can give $25, but almost anyone can claim Day 3 or Day 7.
Step 5: Use your QR code in person
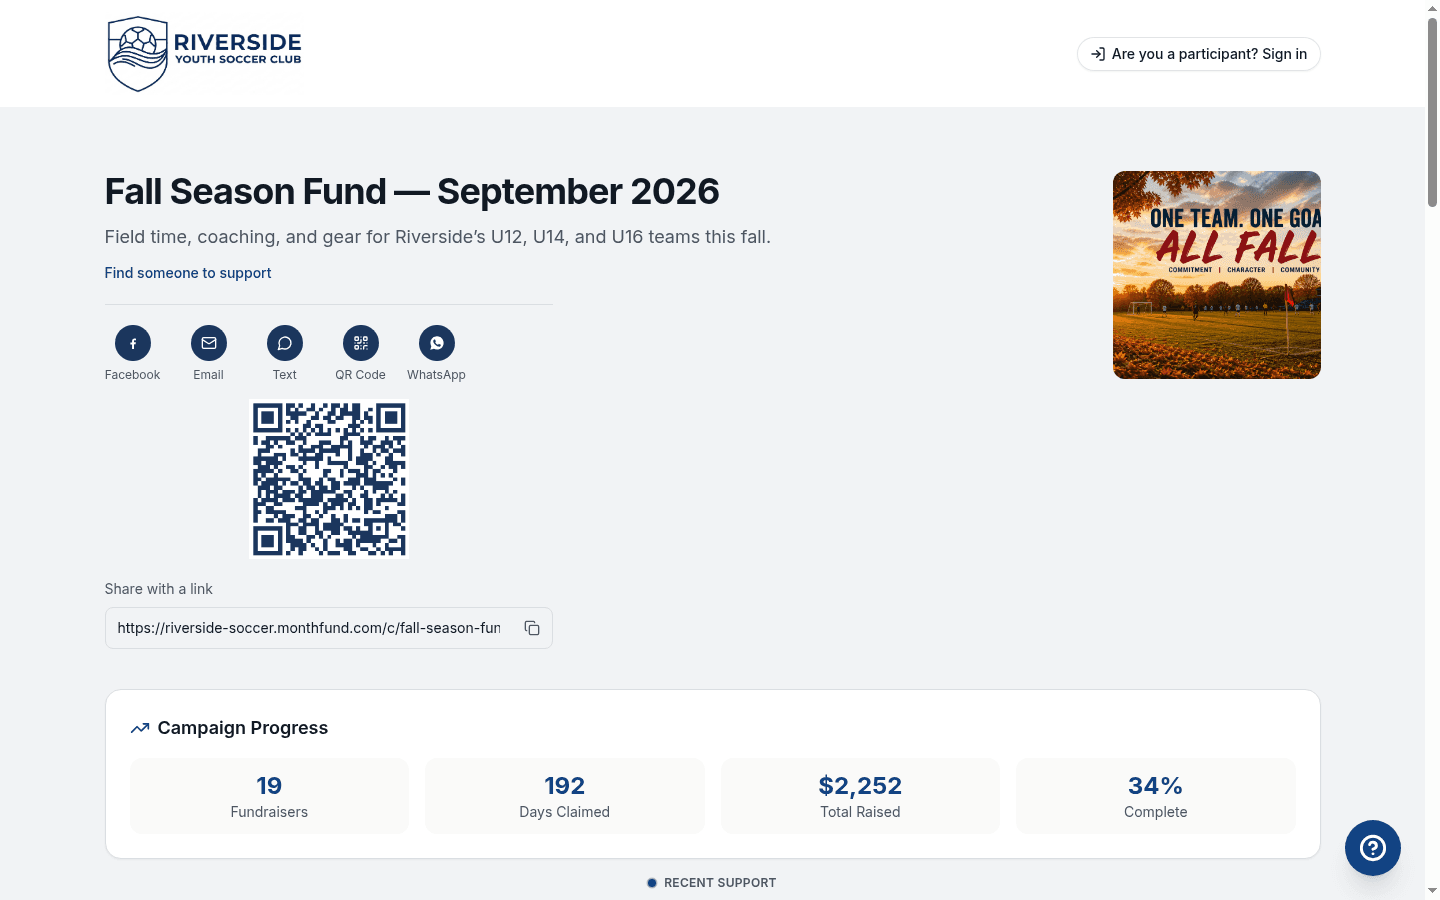
Your QR code opens your calendar instantly when someone scans it.
Ways to use your QR code:
- Show it on your phone when talking to someone
- Print it on a flyer to post at work, school, or community boards
- Add it to event materials or team handouts
Step 6: Share on social media
After your inner circle has claimed a few days, widen your reach:
- Open the Social Kit tab on your Share page.
- Download branded graphics sized for:
- Instagram Stories and Reels (9:16)
- Instagram Feed (square)
- Facebook and LinkedIn (1.91:1)
- Post with a personal message about why you're fundraising.
Sample social post
"I'm raising money for [organization] with a pick a date calendar 🗓️ Claim any open day — each day equals that dollar amount. Day 5 = $5, Day 20 = $20. Even the small days add up! Link in bio (or tap the link in my story)."
Step 7: Thank your donors
When someone claims a day, thank them personally. A quick message goes a long way — and often leads to referrals.
- Go to your Donors page in the navigation.
- See everyone who has claimed a day.
- Click Say Thanks to open a pre-written email you can send or customize.
- The donor is marked as thanked so you know who still needs a note.
Tip: Thank donors within 24 hours. They're most likely to share your calendar with their own friends right after giving.
Step 8: Share again mid-campaign
Don't share once and stop. Your best results come from multiple touches:
| Timing | What to share |
|---|---|
| Day 1–3 | Launch announcement, personal ask to inner circle |
| Day 7–10 | Progress update ("X days claimed, help me fill the rest!") |
| Day 15–20 | Mid-month reminder, highlight affordable days |
| Final 3 days | Last chance, ask for the big days ($25–$31) |
Best times to post: Evenings (6–9 PM) and weekends get the most engagement.
Checklist summary
Use this as a quick reference:
- Accept invitation — Click the join link and choose Continue
- Complete setup — Add photo and intro (or skip for now)
- Find your Share page — Calendar link, QR, templates, Social Kit
- Text 5 people — Direct messages to your inner circle
- Use QR code — Show it in person or print it
- Post on social — Use Social Kit graphics
- Thank donors — Say Thanks from your Donors page
- Share again mid-month — Don't stop after one post
Troubleshooting
My invitation expired or I can't find it
If your join link expired (links last 30 days) or you deleted the email:
- Ask your organizer to resend — They can resend from the roster in their dashboard.
- Request a new link yourself — Go to
/login?help=accessand enter the email address you were invited with. You can request a new invitation from there.
I joined but can't find my calendar
- Log in at
/loginwith the email you were invited with. - Go to your Dashboard — your calendar is on the home screen.
- Click Share to find your calendar link and sharing tools.
My photo or intro isn't showing
- Go to Profile in your navigation.
- Upload a new photo or edit your intro.
- Changes appear on your public calendar page immediately.
Someone wants to donate but my calendar shows "not accepting donations"
Your organization may not have finished setting up payments yet. Ask your organizer if Stripe Connect is complete or if interim collection is enabled. Personal calendars are ready to accept gifts once the organization's payment setup is done.
I'm part of multiple organizations
If you fundraise for more than one organization, you'll see an organization switcher in your dashboard. Click your organization name to switch between them.
Quick message templates
Copy and personalize these for your asks:
The casual text (close friends and family)
"Hey! I'm raising money for [organization] this month. Would you claim a day on my calendar? Even $3 or $5 helps. Here's my link: [link]"
The affordable ask (wider circle)
"Quick favor — I'm [X] days away from my goal for [organization]. Most open days are under $15. Would you grab one? [link]"
The big day request (power donors)
"I'm looking for someone to claim Day 25, 28, or 31 on my calendar. These bigger days would really push me over my goal for [organization]. Any chance you'd take one? [link]"
The thank-you and referral ask
"Thank you so much for claiming Day [X]! You're amazing. If you know anyone else who might want to support [organization], feel free to share my link: [link]"
Next steps
Once you've gotten your first donation:
- Keep the momentum — Share again in a few days with a progress update.
- Thank every donor — Personal notes lead to more referrals.
- Check the leaderboard — See how you're doing compared to your team (if enabled).
- Ask for help — If you get stuck, your organizer can assist from the org hub.
Related resources
Questions? Contact your organization's admin, visit the Help Center, or contact support.